Creating a gallery wall is a fantastic way to infuse personality and style into your living space. It’s more than just hanging pictures; it’s about telling a story with your art and memories.
Whether you’re looking to fill a blank wall in your living room, add character to a hallway, or create a focal point in your bedroom, a well-designed gallery wall can transform any area.
Let’s explore how you can bring your vision to life, making sure your chosen pieces work harmoniously and beautifully.
Finding your gallery wall style
Before you even think about frames or layout, consider the overall vibe you want to achieve. Are you drawn to a modern, minimalist aesthetic, or do you prefer something more eclectic and bohemian? Your personal style will guide your choices in art, frames, and even the arrangement itself.
Think about the existing decor in your home. A gallery wall should complement, not clash with, your furniture and color palette.
If your room is already vibrant, a more subdued collection of art might be best. Conversely, a neutral space can handle a bolder, more colorful display.
Consider the types of art you want to include. This could be anything from framed prints and photographs to paintings, illustrations, or even three-dimensional objects like mirrors or small shelves. Mixing different media and textures can add depth and visual interest to your gallery wall.
Gallery wall layout templates and inspiration

Getting the layout right is key to a cohesive gallery wall. Many people feel overwhelmed by the prospect of arranging multiple pieces, but there are several approaches that can simplify the process.
One popular method is to start with a central anchor piece. This could be your largest artwork or a piece that holds particular significance.
Once that’s in place, you can build outwards, arranging smaller pieces around it. This creates a natural focal point and makes it easier to balance the composition.
Another effective strategy is to use a grid layout. This involves arranging your pieces in evenly spaced rows and columns, creating a neat and organized look.
This style works particularly well for a more modern or symmetrical aesthetic. You can achieve this by measuring and marking out a grid on your wall or using painter’s tape to plan the arrangement on the floor first.
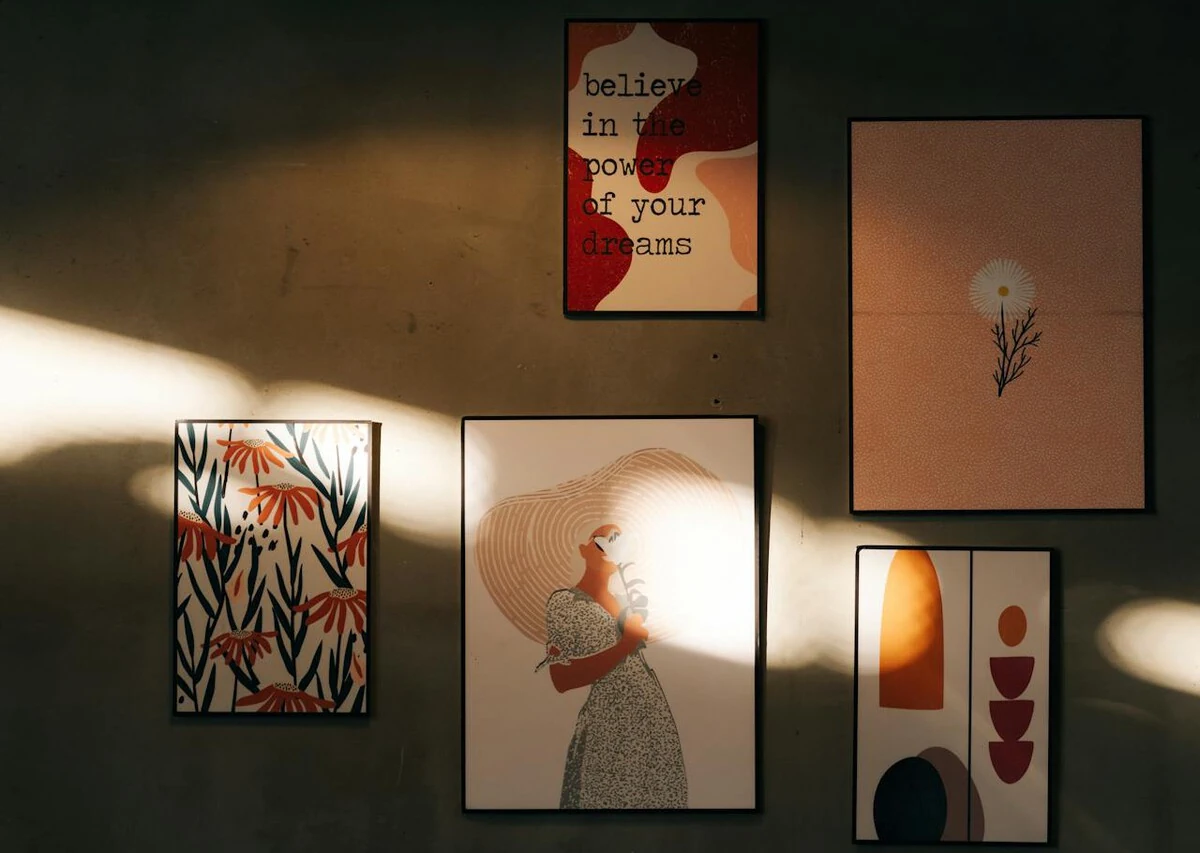
For a more organic and dynamic feel, consider an eclectic art arrangement. This approach embraces asymmetry and allows for a mix of sizes, shapes, and styles.
The key here is to maintain a consistent color palette or theme across your pieces to ensure they still feel connected. Don’t be afraid to let your personality shine through with this method.
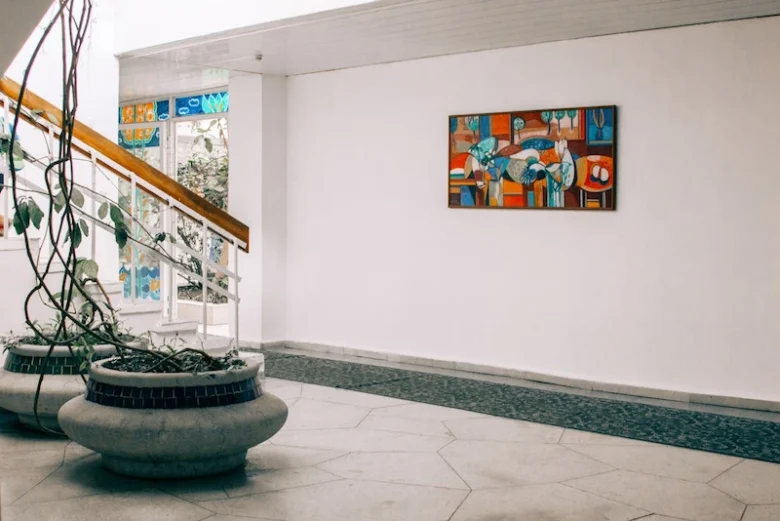
Staircase photo wall ideas
Staircases often present a unique challenge and opportunity for gallery walls. The angled nature of the wall requires a slightly different approach to ensure everything looks balanced and flows well with the ascent.
When planning a staircase photo wall, consider the angle of the stairs. You can arrange pieces parallel to the rise of the steps, creating a diagonal line that follows the flow of movement.
Alternatively, you can opt for a more traditional grid that extends up the wall, ensuring the pieces are spaced consistently.
It’s often helpful to lay out your frames on the floor first, mimicking the angle of the staircase. This allows you to visualize the spacing and ensure the overall composition feels right before you commit to drilling holes in the wall. Think about how the wall will look from both the top and bottom of the stairs.
Choosing frames for gallery wall

The frames you select play a significant role in the overall aesthetic of your gallery wall. They can either tie your collection together or create visual clutter if not chosen thoughtfully.
For a unified look, consider using frames that are all the same color and style. Black, white, or natural wood frames are versatile choices that work well with a wide range of art. This uniformity creates a sense of order and sophistication.
If you’re going for an eclectic vibe, don’t shy away from mixing frame styles. You can combine ornate vintage frames with simple modern ones, or use a variety of colors and materials.
The key is to ensure there’s still some visual thread connecting them, perhaps through a dominant color or a recurring motif.
Consider the size and proportion of your frames in relation to your artwork and the wall space. Oversized frames can make a statement, while smaller frames can be grouped together to create impact.
Wall art spacing guide
Proper spacing is crucial for a polished gallery wall. Too little space can make the arrangement feel cramped, while too much can make it look disconnected.
A good rule of thumb for spacing between frames is to aim for 2-3 inches. This provides enough visual breathing room without making the wall feel empty. When placing pieces side-by-side, ensure the space between them is consistent.
When arranging pieces of different sizes, it’s helpful to imagine a straight line connecting the tops or bottoms of the frames. This helps to create a sense of order even within a more informal arrangement. If you’re using a grid layout, ensure the spacing between all frames is identical.
For artwork above furniture, like a sofa or console table, it’s generally advised to leave about 6-8 inches of space between the top of the furniture and the bottom of the lowest frame. This ensures the art doesn’t feel too high or too low.
Selecting the right art for your collection
The heart of any gallery wall is the art itself. Choose pieces that you love and that speak to you. This is your chance to showcase your personality and interests.
Don’t feel pressured to only display expensive art. A gallery wall can be a beautiful mix of professional prints, personal photographs, children’s artwork, postcards, or even interesting fabric swatches. The sentimental value of a piece often outweighs its monetary worth.
When curating your collection, think about variety in terms of subject matter, color, and style. This can create a more dynamic and engaging display.
For example, you might mix abstract pieces with portraits, landscapes with still lifes, or bold colors with more muted tones.
Tips for hanging your gallery wall
Once you have your layout planned and your frames ready, it’s time to hang. Measure twice, drill once!
Use a level for every piece to ensure they are straight. This is especially important for grid layouts. If you’re unsure about precise placement, painter’s tape can be your best friend.
You can mark the exact spot for your nail or screw on the tape, then stick the tape to the wall where you want the picture to go.
For heavier pieces, make sure you use appropriate wall anchors or find wall studs. It’s better to be safe than have your beautiful art come crashing down.
Designing a gallery wall is a rewarding process that allows you to express yourself and enhance your home. By carefully considering your style, planning your layout, and paying attention to details like frame selection and spacing, you can create a stunning display that you’ll enjoy for years to come.
Ready to bring more inspiration and beauty into your life? Sign up for Neomania Magazine today and discover a world of art, architecture, fashion, and lifestyle.
We bring you stories and insights that go beyond the surface, helping you curate a life filled with creativity and purpose.


